I hope to share my knowledge and experience, and build upon it with the community. Please join us on social media, and leave tips and critiques in the comment section at the bottom of the article. Also note if I linked to Amazon.com in this article I marked it as an Affiliate Link.
3D Printing as Fast as Possible
3D printing as fast as possible is all the rage! Does your 3d printer take a long time to print things? Do you want to reduce that time? Increasing the speed of your 3d printer saves precious time and money, and in our opinion, is really fun! Everyone is promising an easy solution. The truth is you have got to earn your speed.
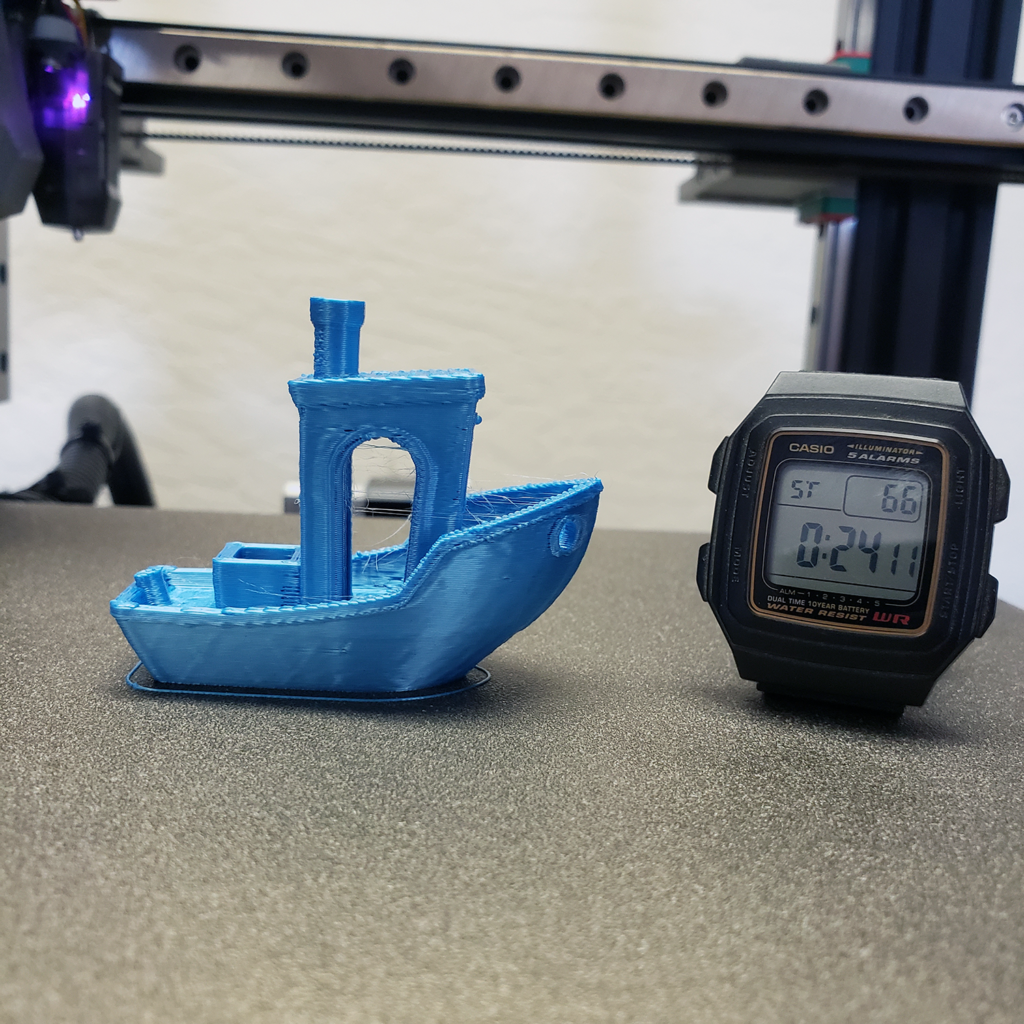
Progress in machines, firmware, and knowledge has allowed enthusiasts to push the boundaries of what is possible. Social media crazes continue to push engineering to meet user demand. Videos of the popular Benchy speed boat races across Youtube, where people race to print the Benchy boat as fast as they can according to certain specifications, have been a main driving force of ramping up speed in additive manufacturing Fused Deposition Modelling (FDM) 3d printers.
DIY builds such as Voron, Hevort, and VZbot have really “sped up” the process as well. Recently the company Bambu Lab launched a CoreXY printer with a heavy marketing campaign advertising it as “fast printing.” Creality 3d also released their Sonic Pad (affiliate link) which enables users to run Klipper firmware under the premise of it increasing your 3d printing speed (we do not recommend buying the sonic pad, rather suggest looking at the Inovato Quadra if you cannot find an Raspberry Pi to run Klipper).
So how do you start printing fast right now? Does it take a lot of money? No! Unfortunately, there are a lot of resources, advertisements, and products saying to throw money at the problem. Don’t fall for the hype!
You need to earn your speed! Then you will know how to best spend your money. Once you understand how your printer works and why it works the way it works, then you can make it work faster!
Here are our 5 steps for printing faster on most FDM 3D printers:
1. Understand Mechanical Limits for 3D Printing at Fast Speeds.
1.1 – How Fast can the Nozzle and Hotend Melt Filament?
What is your hotend’s limiting flow and melt rate? How many mm per /second squared? Are you reaching that limit?
For example, it’s hard to out pace a 0.4mm nozzle. You can usually print really fast with a 0.4mm nozzle on most hotends and not find its speed/flow limit. If you try out a 0.8mm nozzle with large layer sizes on the other hand, you will have to print a lot slower.
Nozzles like the CHT, CHT clones (affiliate link), and the Bozzle are designed with more internal surface area to increase this melt and flow rate.
The volcano heatblock and nozzle (affiliate links) was one of the earlier solutions for increasing print speeds. The Volcano features a much longer nozzle melt zone.
Currently, highflow hotends like the Rapido (affiliate link) or Goliath are using short nozzles, but long heated heatbreaks as the melt zone.
1.2 – How Fast can the Extruder Feed Filament?
How much filament can your extruder push fast? Sub-standard stock extruders like on the Ender 3 can limit speeds. The Titan extruders becoming popular on mid range hobby FDM printers are harder to outrun but possible. The nicer duel gear extruders like a BMG (affiliate link) or Orbiter are extremely hard to outpace.
1.3 – How Fast can the Motion System Move and Stay Accurate?
Do you know the limits of your system? How fast can you run prints before parts begin to hit their physical limits or require increased maintenance? You may be surprised how fast you can actually run stuff on a basic and stock machine with wheels, rails, or rods. Inaccuracies from quality control errors of the motion system however, are generally exacerbated in printed end products when printing fast. Also key is knowing the limits of your motors, gears and pulleys. Linear rails particularly seem to eat up lube when pushing speeds. We think it’s worth the extra lube to print fast.
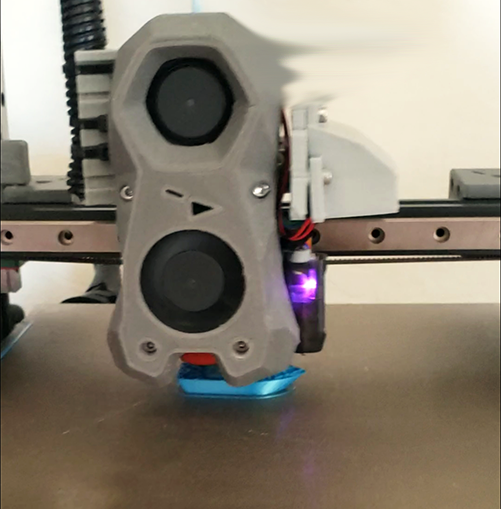
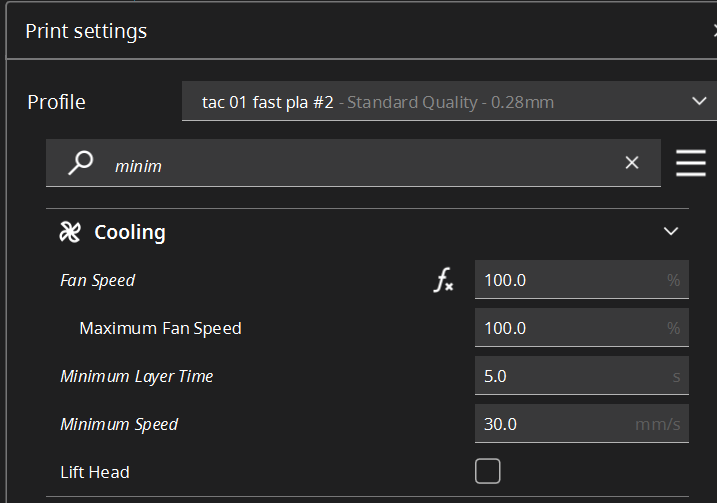
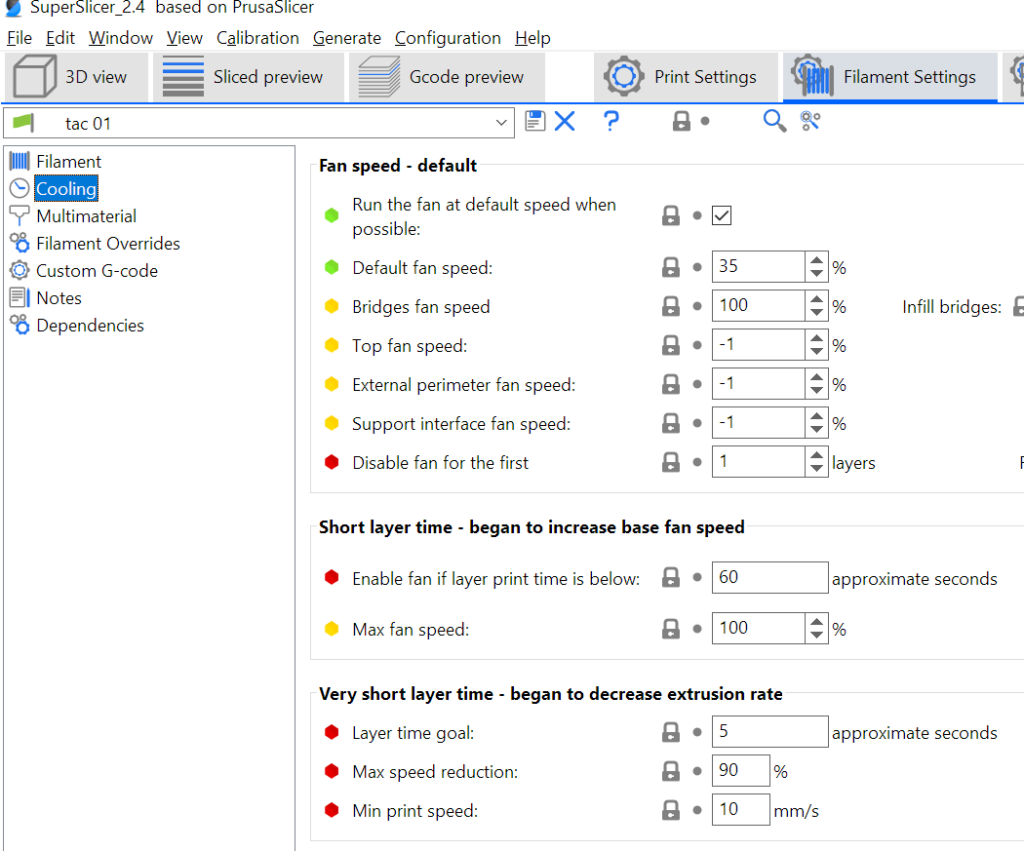
1.4 – How Quick can the Filament Cooling Fan Cool Filament?
Speed requires quality filament cooling ducts and fans. The idea is to cool the melted filament into the place that your hotend put it. Insufficient or inaccurate cooling requires compensation by printing slower. The quicker you can cool melted filament into place, the more you can increase printing speeds.
5015 fans (affiliate link) are the standard upgrade from stock printer fans, but the sky is really the limit. 3D printing tech is still moving along with finding the best solutions for moving air for cooling, with neat solutions appearing like the CPAP from VZbot.
1.5 – Are the Moving Wires Ready for Extra Stress from Fast Printing?
A lot of stock wire management systems with cheap printers are just good enough, but not sustainable. We’ve seen bad wire management practices out there in abundance. We are also a bit guilty of poor wire management when we were first getting started and didn’t have a better solution.
A bad wire management system is prone to failure over long periods of use. Kinks and strains in the wires are a common cause of failure and require repair. This is particularly common with thermistors and heater wires getting yanked on and coming loose. This is all exacerbated when printing really fast.
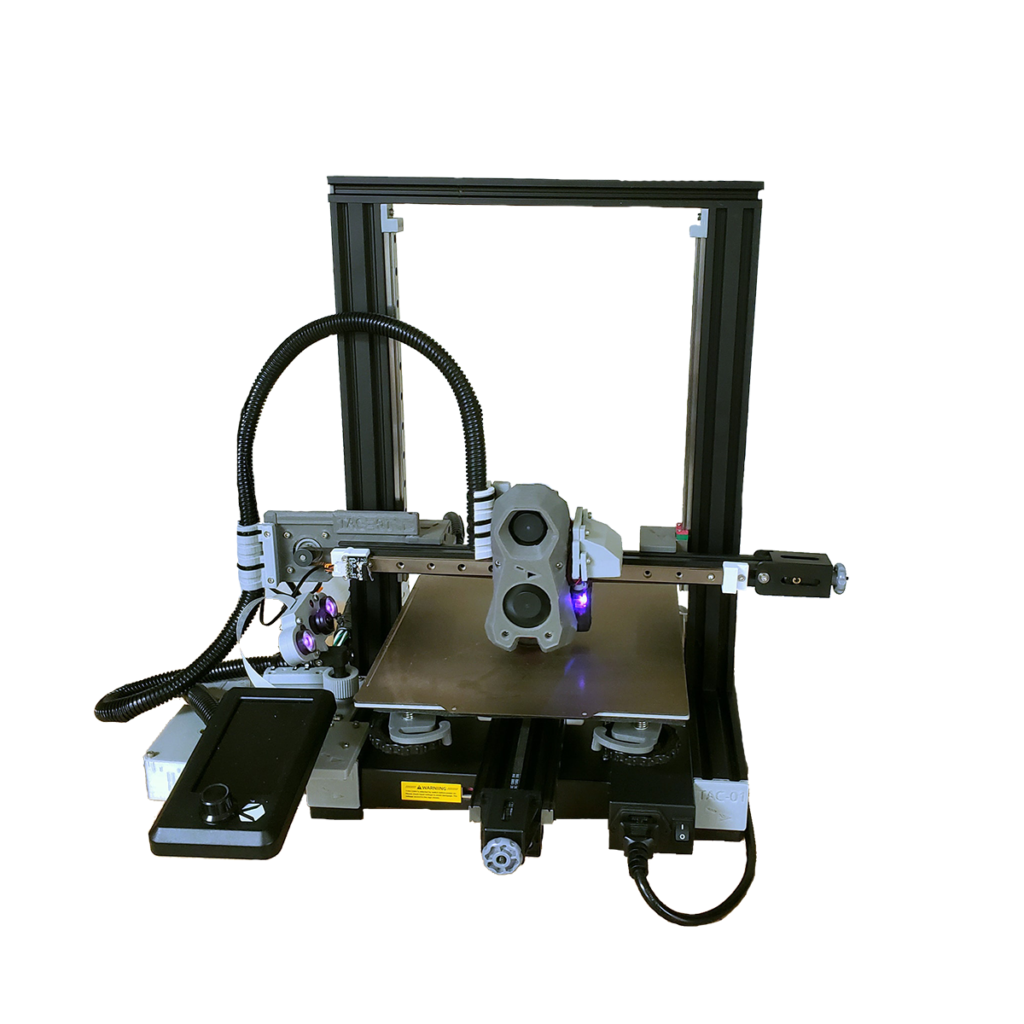
One of the things offered with our TAC-01 3D printer build is a quality wire management system for Ender 3 style printers.
2. Earn Your Speed
Make sure everything is built right. It sounds simple, but quality resources can be hard to find, and it is easy to overlook small details that have big consequences. Join our Facebook to follow along for future articles regarding how to set up your printer properly.
Maxing out your print speeds is an essential form of fine tuning. Basic print quality issues must be overcome first before increasing speeds. Fast printing is a fast way to mess up your printer.
Once properly set up and tuned, work your way up faster and faster until it’s too fast and produces errors. Then back off a bit. Increasing speed will expose areas that still need adjusting, and ultimately get you higher quality prints and closer to your speed goals.
Only once you’ve earned your speed by maxing out the potential of your 3d printer, then you can determine what kind of hardware would help push it even further.
3. Adjust Firmware Limits For Fast 3D Printing
The main limitation preventing beginners from printing fast is max acceleration settings in the 3d printer firmware. Firmware usually has a max speed and max acceleration setting. In Marlin firmware (and possibly others) you can check this by setting up the program Pronterface and use it to send a M503 G-Code command that reads out your settings.
You can reset the acceleration setting in Pronterface with a M201 command or by (re)compiling your firmware.
Klipper firmware also offers very easy to adjust acceleration settings.
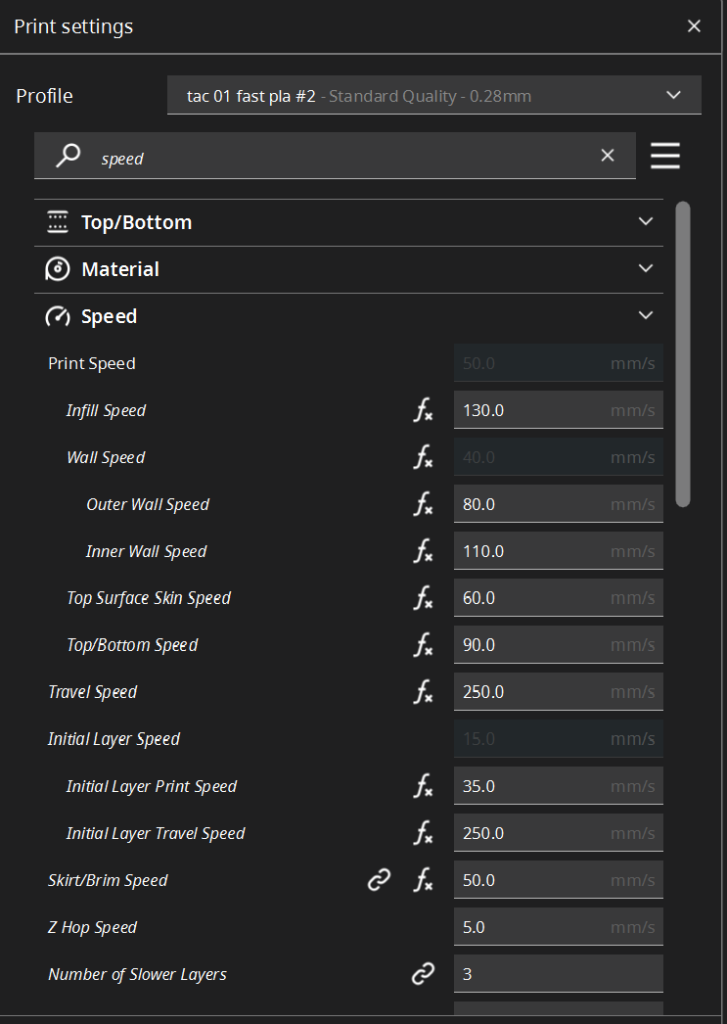
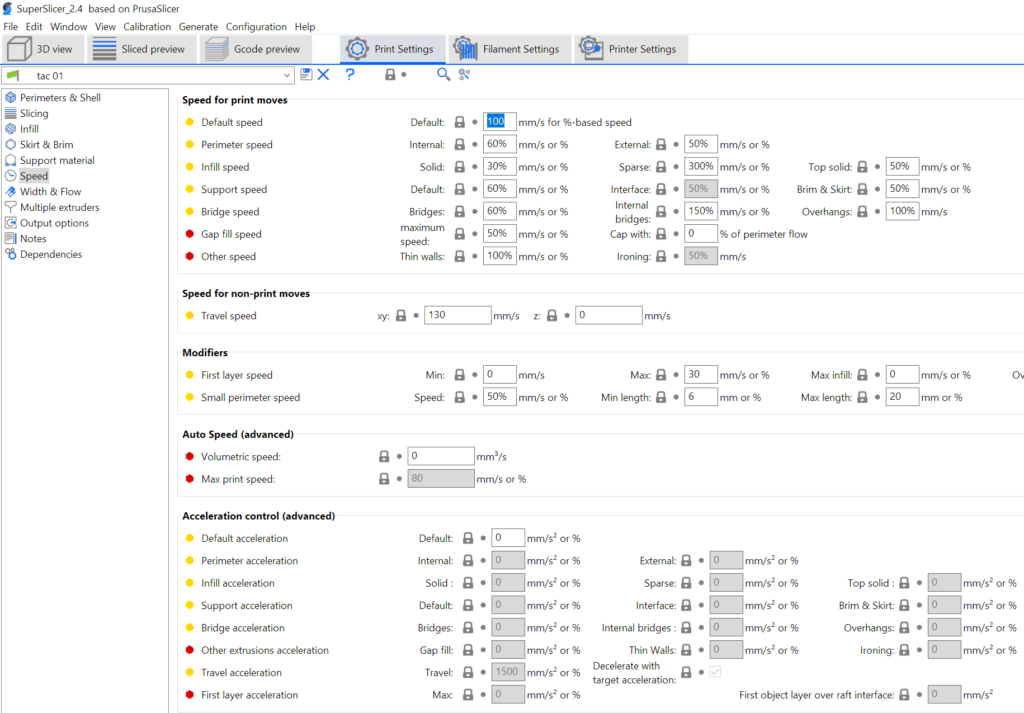
4. Slicer Controls for Speed and Acceleration
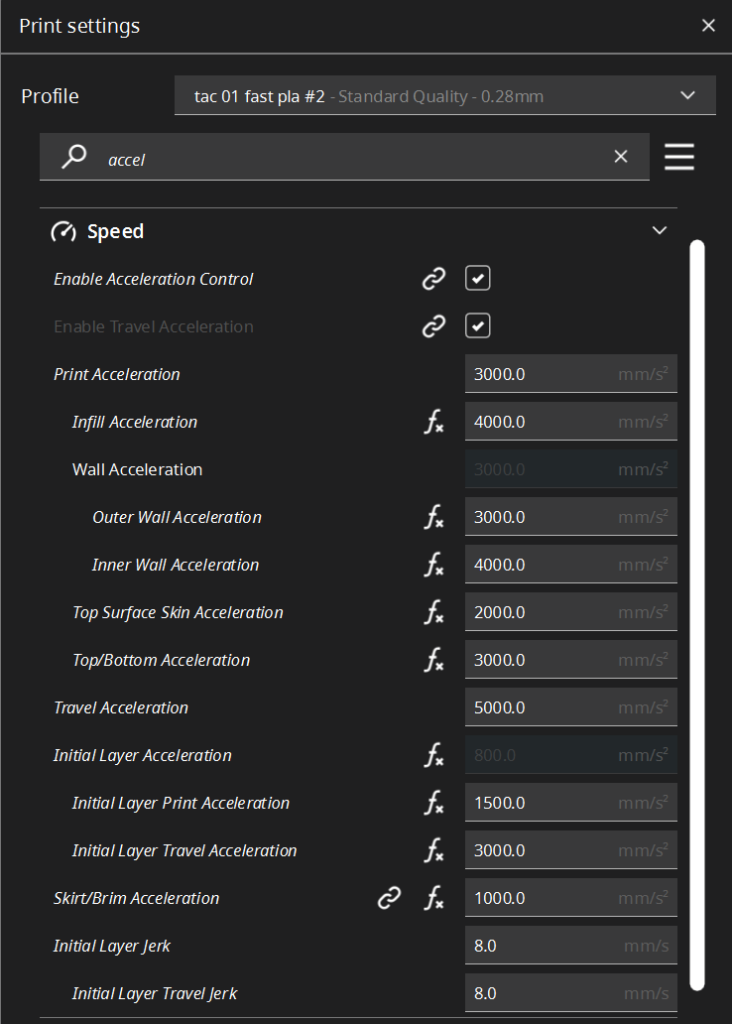
With firmware limits are out of the way, set speeds high in the slicer. “Speed” settings are only part of it. Speed settings in the slicer refer to the top speed your printer can reach. Almost more important is the acceleration settings. Acceleration dictates how fast can your printer reach its top speed.
When using Marlin firmware, set your acceleration speeds in the slicer program. If using Klipper firmware, set your acceleration in Klipper/Mainsail. We suggest playing around with acceleration settings independently of the speed settings and get a feel for the difference and what factors each setting controls.
**Also check your start G-Code for any G-Code that may be overriding your acceleration settings.**
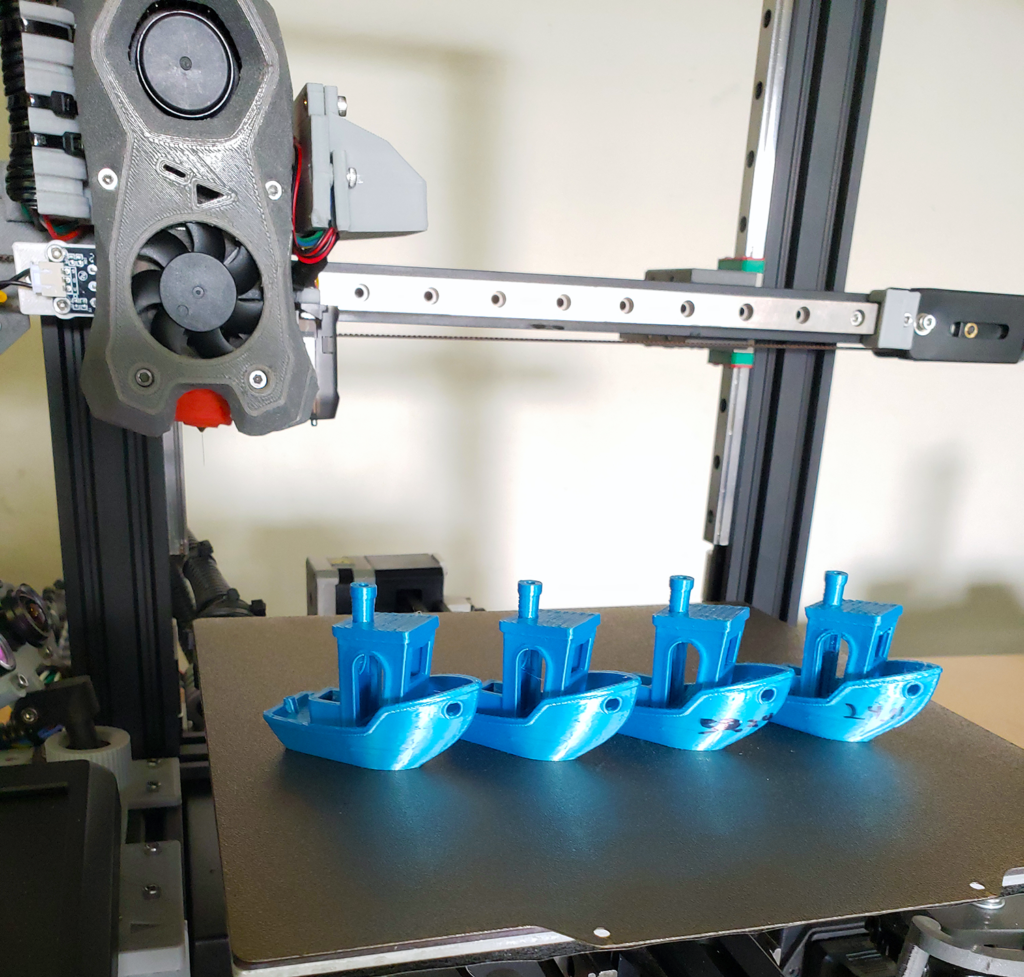
5. Send it! Tune it. Repeat.
Watch some speed Benchy races on youtube and then see how fast you can get to that. You may even want to see if there are any speed Benchy races with your particular model of 3d printer.
Then jump in and send it! Play around with the settings and have fun. See how fast you can go, and if problems show up, tone it down a bit. Then ease back towards those speeds until you run into the problems again. As said before, printing fast will show you new problems with your printer and settings. Once you overcome those you can kick it up even faster! We also suggest taking a look at Andrew Ellis’s speed tuning guide. Also note all the variables Ellis suggests that you want to tune before focusing on speed!
Printing fast will make issues with your set up show up pretty fast. Fast 3d printing also makes it hard to isolate the problem. A fast print is a good way to audit your system and see what problems show up. Then slow it down and address them all individually. Repeat until you are a fast 3D printing pro!
Support HomeGrown 3D
Our mission is to create a self-sustaining resource for our open source 3D print designs, sharing information, honest reviews, and building community. Support HomeGrown 3D with a donation of as little as a $1, and consider signing up for our Patreon with a regular amount each month. HomeGrown 3D is a small operation, and every contribution, however big or small, makes this possible.
Thank you!
Paypal Donate
Patreon