A lot of research and testing went into finding the linked items displayed in this article. They are meant to be used as a guide. We suggest shopping around and see if you can find something cheaper/better of the same specifications. If you find something better please let us know in the comment section!
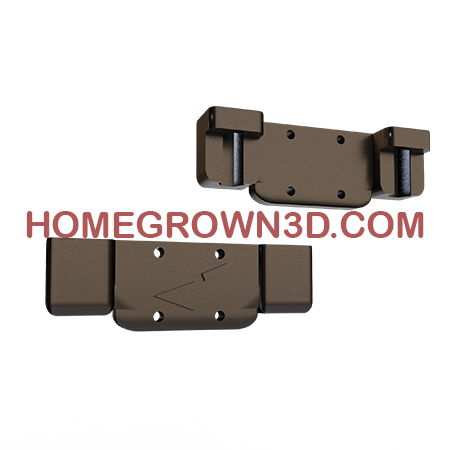
Pushing speed limits on a bed slinging printer can be frustrating. Y axis upgrades options for Ender 3 style printers are limited and expensive. We have a solution: Linear Rails, Light Weight Y Axis Carriages, and 3D printed mounts!
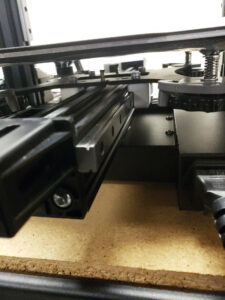
Announcing the second part release of HomeGrown 3D’s TAC-01 printers: Mounts for Y axis linear rails and a light weight carriages! This is a Y axis speed upgrade for bed slinging printers. This upgrade replaces the y axis wheels, eccentric nuts, and stock carriage.
We built the TAC-01 as the best cartesian 3d printer you can put together at a low price point. It serves as an upgrade guide and this is a great Y axis speed upgrade for Ender 3 Pro style printers that you can hold as a standard to compare other upgrades.
These Linear Rail Y Axis Rail Mounts are recommended for most printers that utilize 4040 or 2040 extrusion for the y axis, including the Creality Ender 3, Ender 3 Pro, Ender 3 V2, and the Voxelab Aquila.
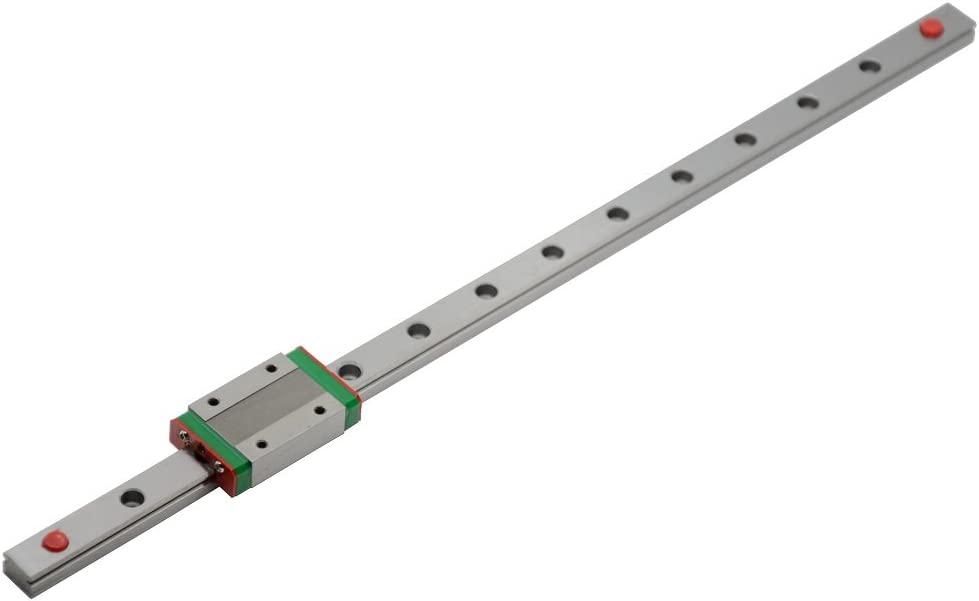
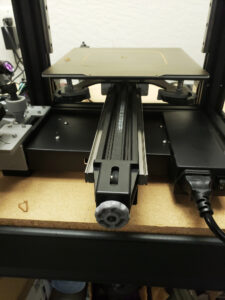
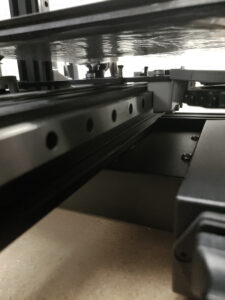
We use MGN 12H rails and carriages. We like 350mm long for our y axis on the official TAC-01 Build but if you are using a regular Ender 3, you want 300mm. We’ve ordered several of these rails from amazon with great success. Most the linear rails on amazon have performed better than we expected. We have only tested ones with abundant amount of good reviews.
Affiliate link, we earn from qualifying purchases.

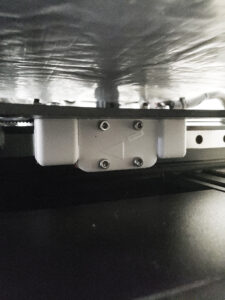
Light weight modular bed carriage from Befenybay. There are also several other brand versions of this carriage that seem to be to similar or the same specifications.
Affiliate link, we earn from qualifying purchases.
The Light Weight Modular Carriage drops an ounce of weight from the carriage and fits with the rails (where as the Voxelab Aquila carriage does not, look for our mount specifically for that carriage in the future). When pushing speed, every bit of weight counts so it is a decent upgrade.
Unlike eccentric nuts and wheels, the linear rails do not need adjustment. We just give them a quick wipe down with a paper towel and add some of our preferred lubricant. These greatly improve maximum achievable speeds for accurate printing, and simplify maintenance with no eccentric nuts to adjust or pom wheels that wear down and catch lint.
You can download the STL file for free at Printables. We also have a Tinkercad link so you can edit the design for other printers and carriages. The mounts have been tested in ASA, and were designed for PETG, ABS, and ASA. Polycarbonate and reinforced nylons and other specialty materials probably also will be great. We offer them printed in ASA from our print farm.
Get the Files!
Download the Y Axis Linear Rail Mounts STL files at Printables, or find the editable files on Tinkercad.
Printables
Tinkercad
Buy the Y Axis Rail Mounts!
We now offer 3D printing services! Made to order in ASA material.
Buy The Y Axis Rail Mounts At HG3D.ORG
Keep reading for some slicing and install advice, and the sources and inspiration for these mounts.
For these mounts, you want to print solid enough parts to avoid any sort of creep. You want to set them up once and not have to tighten parts again in the future. High amounts of walls and/or infill should help with that. Also opting for stiffer materials. You will be installing a lock nut. We like to tighten a screw to help pull the M4 lock nut snug into the mount. Be mindful to not use too long of M4 screws that might damage your rails.
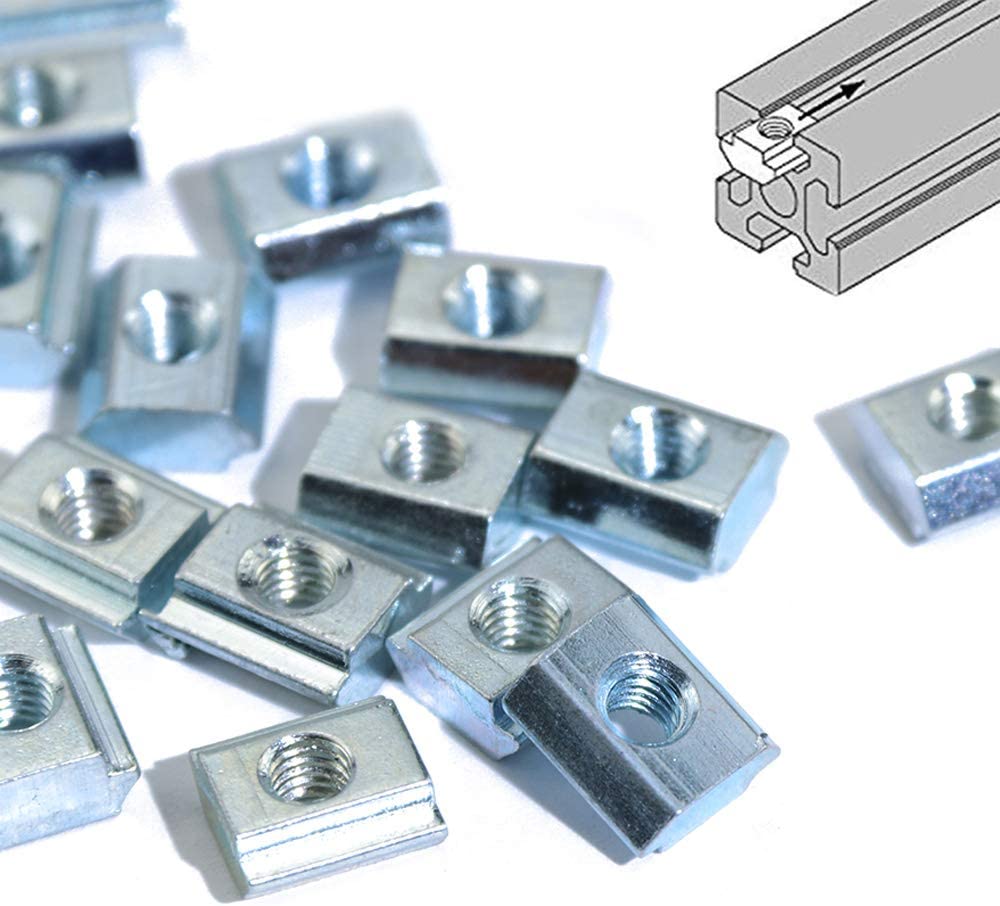
We really prefer using these slide in T Nuts for mounting our rails.
Affiliate link we earn from qualifying purchases.
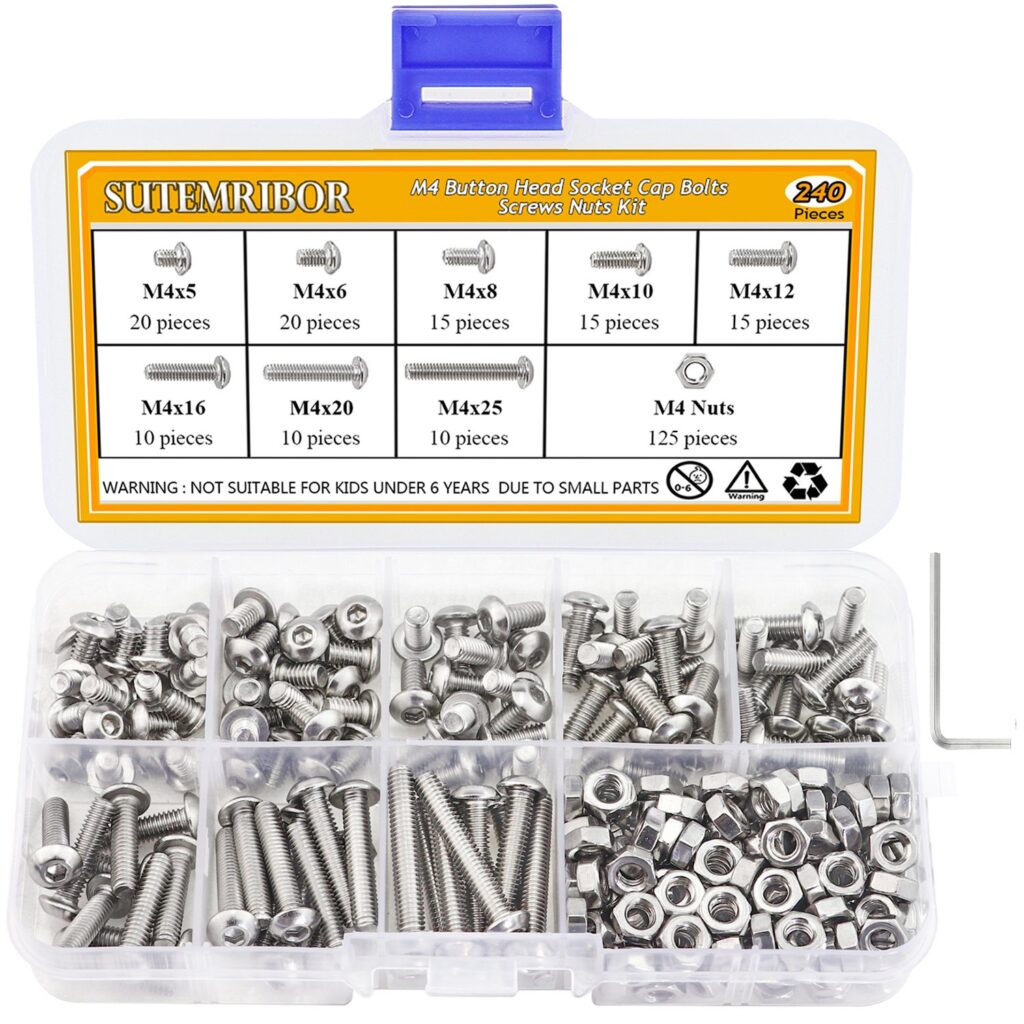
M4 Screw kits for mounting the carriage.
Affiliate link we earn from qualifying purchases.
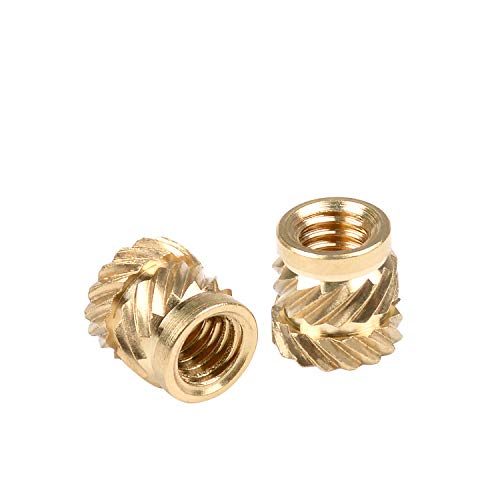
We use these brass threaded heat set inserts on the endstop for the Voxelab Aquila, along with most of our 3d printer builds and parts.
Affiliate link we earn from qualifying purchases
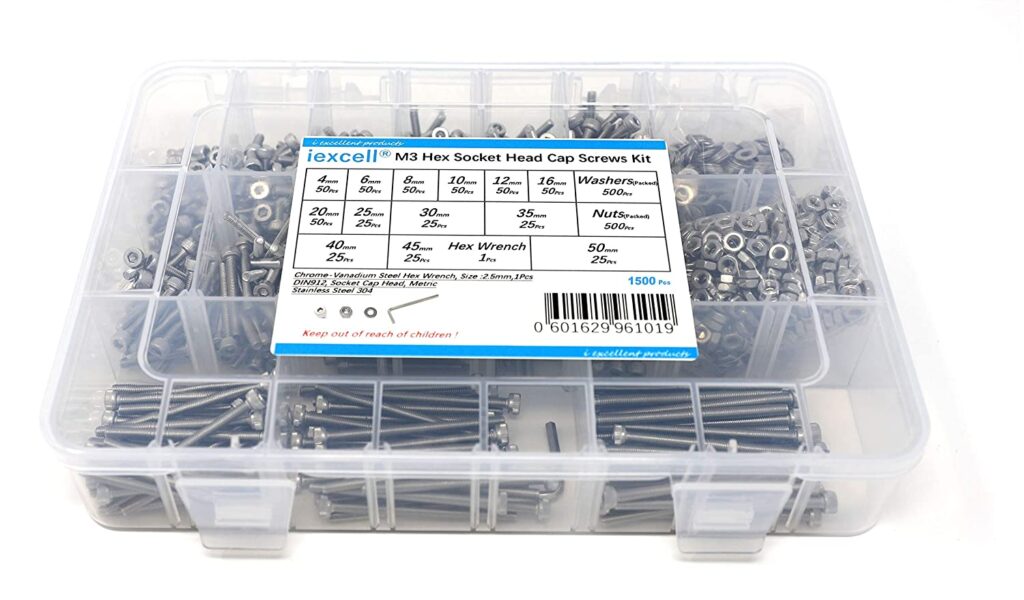
We use these m3 screws for mounting the rails and pretty much everything else on the TAC-01 3D printer build.
Affiliate link we earn from qualifying purchases.
At Homegrown 3D, we strive for open sourcing, we love copyleft licenses, believe in transparency and seek to improve the 3D community through open source cooperation.
“Y-Axis Linear Bearing Mod MGN12H for Ender 3 V2” by ngungbi directly inspired our mounts. In contrast to ngungbi’s design, we made our version for m4 screws and nuts that came with our printer and carriage, with softened edges and corners, and adapted the dimensions for the light weight carriage.
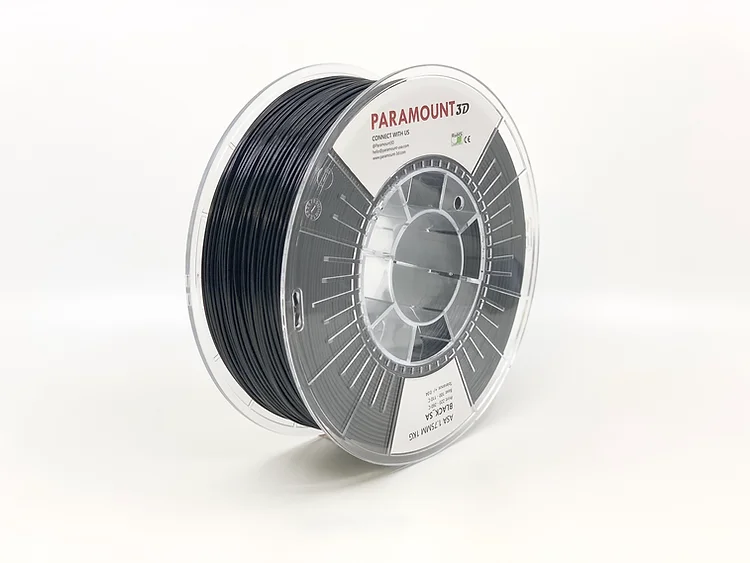
We print our mounts in ASA from Paramount 3D. Use the coupon code HG3D to save 10%!
Affiliate link, we earn from qualifying purchases.
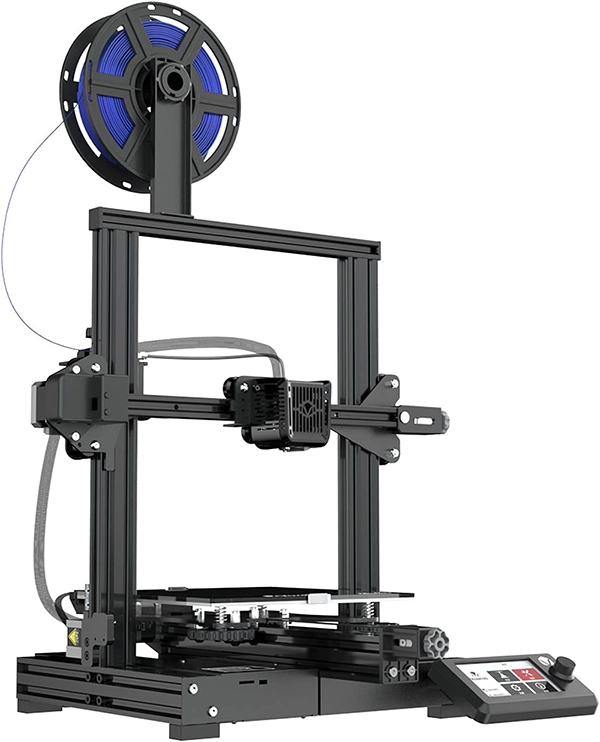
Voxelab Aquila. This is basically an Ender 3 v2 but for $100 cheaper. Currently going for $150 at time of writing. We feature this as our base printer for the TAC-01.
Affiliate link, we earn from qualifying purchases.
Make it a TAC-01!
If you enjoyed this upgrade, check out our other TAC-01 3D printer related build upgrades and turn your printer into The Angry Chicken (TAC)!
TAC-01 Bed Tramming Wheel Clips
TAC-01 Control Box Board Mount
Support HomeGrown 3D
Our mission is to create a self-sustaining resource for our open source 3D print designs, sharing information, honest reviews, and building community. Support HomeGrown 3D with a donation of as little as a $1, and consider signing up for our Patreon with a regular amount each month. HomeGrown 3D is a small operation, and every contribution, however big or small, makes this possible.
Thank you!
PayPal Donate
Patreon